Since button objects can respond to five different events, there are five tabs on the script editor (or, depending on how you want to look at it, five tabs on the Script tab). Clicking on the On Click tab displays the action script for the objects On Click event, which at the moment is empty.
![]()
Note: This is the exact same place you are taken to when you click on the On Click event in the properties pane and then click the edit button.
3 ) C li ck t h e A dd Ac t ion bu tt on, c hoo s e t h e P a g e ca t e go ry , s e l ec t t h e P a g e . J u m p ac t ion, a nd c li ck Nex t . S e t t h e P a g eName p arame t er t o
" A bou t T e d " , a nd c li ck O K .
The Page.Jump action will cause the application to close the current page and open another one. You just need to tell the action which page you want it to open, which you do by setting the PageName parameter.
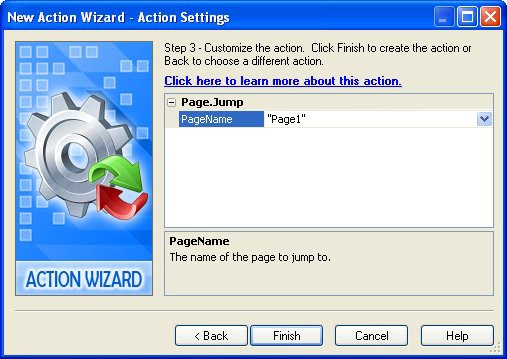
An easy way to change the PageName parameter to "About Ted" is to click on the PageName field, and then click the select button to bring up a list of all the page names in the project. (Note that since page names are text strings, and string parameters must be quoted, all of the page names in the drop-down list are quoted for you.) Choose "About Ted" from the list, and you're done.
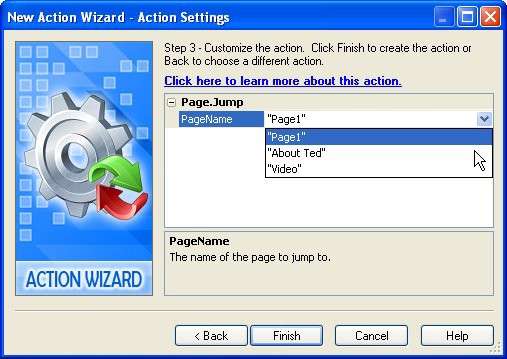
You can also just type "About Ted" into the PageName field if you want.
Once you click Finish, the wizard will close and the action will appear on the script editor.
4 ) C li ck O K t o c lo s e t h e s cr ip t e di t o r .
Clicking OK closes the script editor and confirms the changes that you've made in it.
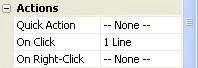
In the properties pane, 1 Line will appear next to the On Click event, to indicate the number of lines that are currently in that events action script.
5 ) Dra g t h e V id e o p a g e i c on f r o m t h e p r oj ec t ex plo rer on t o t h e V id e o P re s e n t a t ion bu tt on obj ec t ( B u tt on 3 ) . Wh e n a s ke d i f y ou w a n t t o a dd a n ac t ion t o t h a t obj ec t s On C li ck eve n t , c li ck Y e s .
This time, we've taken advantage of the drag and drop assistant to add the page jump for us. When you drag a page icon from the page manager and drop it on an object that has an On Click event (like a button or a label), AutoPlay asks if you want to add an action to that event to jump to the page you dragged.
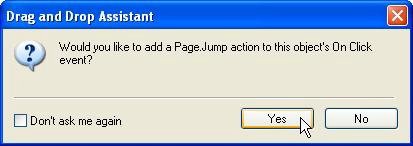
When you click yes, AutoPlay adds the following Page.Jump action to the objects On Click event:
-- Added by the Drag and Drop Assistant Page.Jump("Video");
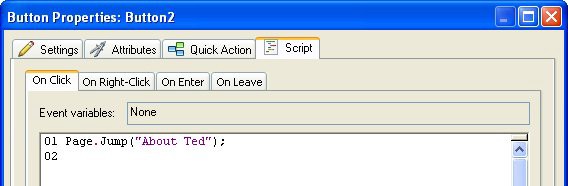
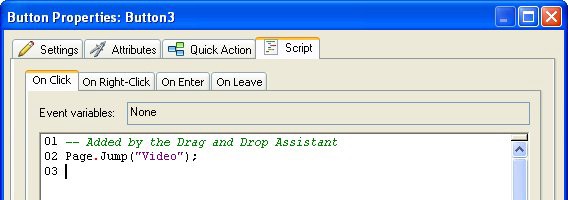
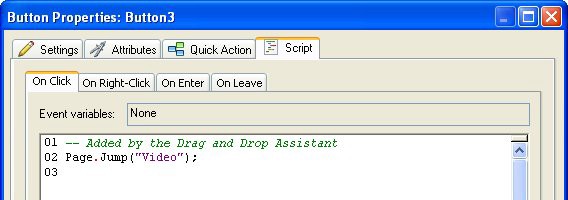
6 ) D oubl e - c li ck on t h e V id e o P re s e n t a t ion bu tt on obj ec t ( B u tt on 3 ) . Wh e n t h e s cr ip t e di t o r op e n s , c li ck on t h e On C li ck t a b, a nd c on f i rm t h a t t h e P a g e . J u m p ac t ion w a s a dd e d.
Double-clicking on the button object will open the Button Properties dialog to the same tab that you used last time you had the dialog open. In this case, it was the Script tab, home of your friendly neighborhood script editor.
On the On Click events tab, you can see the action that the drag and drop assistant added for you.
7 ) C li ck O K t o c lo s e t h e s cr ip t e di t o r .
That takes care of the two navigation buttons on Page1. Now we just need a way to get back to Page1 from the other two pages. Instead of adding a new button to each page, and having to set up their highlight and click colors from scratch, lets copy one of the buttons from Page1 for a bit of a head start.
Copying Objects

You'll often find yourself wanting to use the same object on more than one page, or set up a new object on one page that is just like an object on another page. In order to copy an object from one page to another, you need to copy it into the clipboard, and then paste it back into the project.
Note: You can make copies of objects on the same page by duplicating them, but if you want to duplicate an object to another page, you need to copy and paste it.
Tip: You can also move an object from one page to another by cutting it instead of copying it. To cut an object, just press Ctrl-X, or choose Edit > Cut. Cutting an object is just like copying one, except that the original object doesn't remain behind - its removed.
1 ) M ake s u re t h e V id e o P re s e n t a t ion bu tt on obj ec t i s s t ill s e l ec t e d, a nd p re ss C t r l + C t o c op y t h e obj ec t in t o t h e c lipbo ar d.
When you press Ctrl+C, the currently selected item is copied into the clipboard. (The clipboard is just the place in your computers memory where Windows puts stuff while you copy and paste them.) You can copy and paste objects, just like copying and pasting text in a word processor.
Tip: You can also copy the currently selected object by choosing Edit > Copy.
![]()
2 ) S wi t c h t o t h e A bou t T e d p a g e . C li ck on t h e p a g e s u r f ace , a nd p re ss C t r l + V t o p a s t e t h e obj ec t on t o t h e p a g e .
To switch to the About Ted page, just click on its page tab at the top of the work area.
When you press Ctrl+V, a new (copied) button object appears on the page, in the same position as the original. All of the settings are carried over from the original. In this case, since there are no
other button objects on this page, even the objects name is copied. (Just like the original, the new button objects name is also Button3.)
Remember the first rule of object naming? No two objects can have the same name, on the same page. When you copy and paste an object, AutoPlay first checks to see if that name is already taken by another object on the page; if it isn't, then it lets the object keep the same name as the original. If the name is already in use on the page, then the object is given a new name, just like it would if you added it from scratch.
Tip: You can also paste an object from the clipboard by choosing Edit > Paste.
![]()
3 ) I n t h e p r op er t i e s p a n e , c h a ng e t h e bu tt on obj ec t s T ex t t o Back . S e t t h e Wid t h t o 114 a nd t h e L e ft s e tt ing t o 55 .
This button is going to be used to go back to Page1, the main table of contents page of our application. We want to leave enough room for the other stuff were going to put on this page, so we've made the button small and put it on the left side.

4 ) U s e t h e a lign me n t t ool s t o ce n t er t h e obj ec t ver t i ca ll y on t h e p a g e .
To center the object on the page, first make sure you're in Align to Page mode. Then, right-click on the object and select Align > Center Vertical.
5 ) I n t h e obj ec t s On C li ck eve n t , c h a ng e t h e P a g e . J u m p ac t ion s P a g eName p arame t er f r o m " V id e o " t o " P a g e1 " .
This object already has a Page.Jump action on its On Click event, but its currently configured to jump to the Video page. (The action was copied along with the objects other settings.) Since our Back button is already on the Video page, we need to modify the action so it will jump somewhere else. In this case, we want the action to jump back to Page1.
Open the script editor and access the objects On Click event. (There are two ways to do this: you can either double-click on the object, click on the Script tab, and click on the On Click tab...or, you can click on the On Click setting in the properties pane, and then click the edit button.)
You should see the existing Page.Jump action.
You could remove the existing action and then add a new one, but since you'd end up adding another Page.Jump action anyway, you might as well just edit the existing action. (Only the parameter needs to change.)
To edit the action, just double-click on it. Double-clicking on the action opens the Action Properties dialog, where you can modify the actions current parameters.
Click on the PageName parameter, click the select button, and choose Page1 from the drop-down list.
Tip: You can also just edit the actions text directly.
![]()
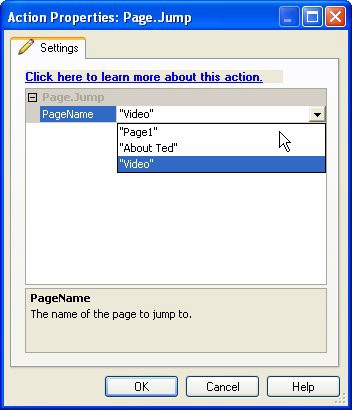
Changi ng the PageName parameter from "Vi deo" to "Page1"