As you move the object, the position readout changes on the status bar.
![]()

The numbers indicate where the top left corner of the objects bounding box will be when you let go of the mouse button.
Tip: Heres a neat trick: try holding the ctrl and shift keys down (together) before you start moving the image object. When the ctrl and shift keys are held down, an object can only move vertically or horizontally, whichever direction the object is moved in first. So, if you hold Ctrl+Shift and then start moving an object to the right, the object will only move left or right until you let go of those keys. (The same goes for moving it up or down.)
Tip: You can also move objects around using the cursor keys. (Graphic artists commonly refer to this as nudging the object.) This can be helpful when you want to fine-tune an objects position.
7 ) M ake s u re t h e obj ec t i s s e l ec t e d, a nd t h e n p re ss t h e De l e t e key t o rem o ve i t .
Don't worry, well add the image object back in the next step. But I wanted to show you how to remove an object from the page.
Note that this removes the object from the page along with all its settings, but doesn't actually delete the image file. As you'll see in the next step, a copy of the original image is still in your projects Images folder.
8 ) C hoo s e V i e w > P a n e s > P r oj ec t Br ow s er t o op e n t h e P r oj ec t p a n e .
U s ing t h e P r oj ec t p a n e , n av ig a t e in t o t h e I ma g e s f old er , lo ca t e t h e " A- 001 .png " f il e , a nd d ra g i t on t o t h e p a g e s u r f ace .
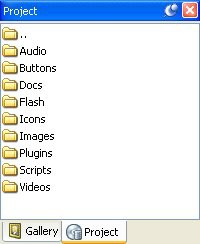
The Project pane