Optimize the document
Your document is almost ready for the web. The only thing you need to do before exporting it is to optimize it. Before you export any document from Fireworks, you should always optimize it. Optimizing ensures that your graphics will be exported with the best possible balance of compression and quality.
When different kinds of graphics are in the same document, it's a good idea to choose an appropriate file format and compression setting for each. The Global web page comprises a variety of elements: bitmaps, vector objects, and text.
- If the Optimize panel is minimized or isn't visible, select Window > Optimize to open it.

Fireworks chooses GIF as the default export file format and Websnap Adaptive as the default color palette. Most of the graphics on the Global Rental Cars web page will be fine using these settings. The Vintage bitmap image, however, contains a photograph and a gradient. Because of this image's complex color variations, it is best exported in another format.
- In the Document window, click the 2-Up preview button.
The 2-Up button allows you to view the results of your optimization settings and compare them with the original. By now you probably noticed the white slice overlay each time you use one of the Preview views. The overlay allows you to focus on just the area you want to optimize.
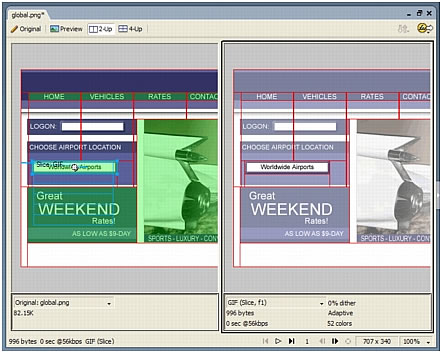
- In the preview on the right, click the slice for the Vintage image.
The slice overlay disappears so that you can view the image beneath the slice. At the bottom of the preview, the export file format for the selected slice appears, as well as the estimated export file size and the amount of time the graphic will take to download from the web.
TIP
Use the Hand tool in the View section of the Tools panel to view more of the image if it's not entirely visible.
- Hide the slices for a moment by clicking the Hide Slices and Hotspots button in the Web section of the Tools panel.
This step allows you to compare the preview with the original and see the difference between the two graphics. The preview on the right has bands in the gradient.
- Enable slices again, and click the Vintage image in the left pane with the Pointer tool.
- In the Optimize panel, select JPEG - Smaller File from the Settings pop-up menu.
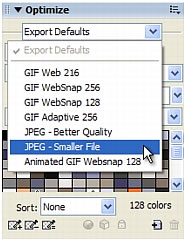
The gradient bands are now gone in the right pane, and the file size has decreased significantly. That's because photographs and images with complex color variations are better optimized and compressed as JPEG files than as GIF files.
Now that the file size has been decreased, the image has become fuzzy.
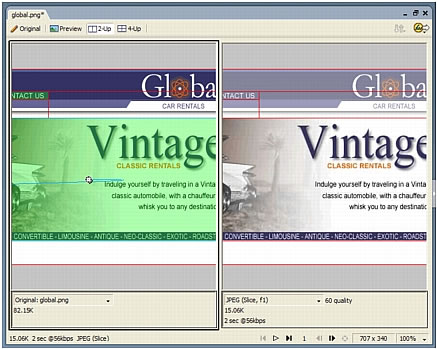
- To improve the appearance of the bitmap, drag the Quality slider in the Optimize panel to 77 and set the Smoothing option to 0.
The bitmap is much clearer, but the file size has also increased. However, it is still an improvement over the file size when the image was optimized as a GIF file.
- Click the Original button to return to normal view.
- Save your work.

