Masking objects using the Paste Inside command
If you are a Adobe FreeHand user, you may be familiar with the Paste Inside method of creating masks. Paste Inside creates either a vector mask or a bitmap mask, depending on the type of mask object you use. The Paste Inside command creates a mask by filling a closed path or bitmap object with other objects: vector graphics, text, or bitmap images. The path itself is sometimes referred to as a clipping path, and the items it contains are called contents or paste insides. Contents extending beyond the clipping path are hidden.
The Paste Inside command in Fireworks produces a similar effect to the Paste as Mask command, with a couple of differences:
- With Paste Inside, the object you cut and paste is the object to be masked. Compare this with Paste as Mask, where the object you cut and paste is the mask object.
- With vector masks, Paste Inside shows the fill and stroke of the mask object itself. A vector mask object's fill and stroke are not visible by default with Paste as Mask. You can turn a vector mask's fill and stroke on or off, however, using the Property inspector. For more information, see Changing the way masks are applied.
To create a mask using the Paste Inside command:
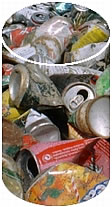
- Select the object or objects to use as the paste inside contents.
- Position the object or objects so that they overlap the object into which you want to paste the contents.
NOTE
Stacking order is not important, as long as the objects you want to use as the paste inside contents remain selected. These objects can be above or below the mask object in the Layers panel.
- Select Edit > Cut to move the objects to the Clipboard.
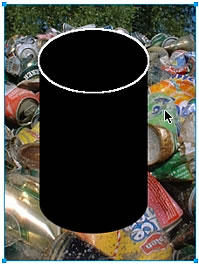
- Select the object into which you want to paste the contents. This object will be used as the mask, or clipping path.
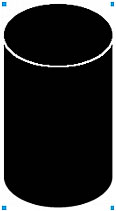
- Select Edit > Paste Inside.
The objects you pasted appear to be inside or clipped by the mask object.