Create a contrasting background for the logo
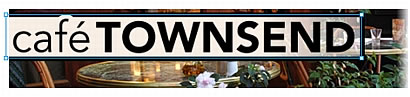
The Cafe Townsend logo is not clearly visible because it's black and transparent against a dark background. You decide to place a lighter colored rectangle behind the logo to make it stand out more.
- In the Layers panel, select the Logo layer.
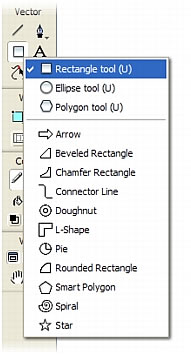
- In the Tools panel, select the Rectangle tool.
- In the Property inspector, set the following properties for the tool:
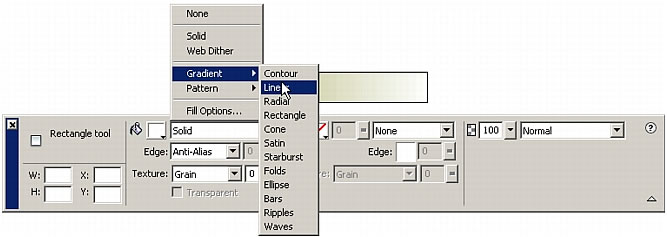
- Click the Fill Category box and select Gradient > Linear.
.
- Click the Fill Color box next to the bucket icon and then click the button just above the Preset label in the dialog box that appears.
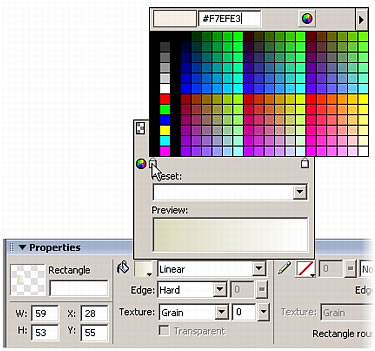
A pop-up window appears to let you pick the first gradient color.
- Type F7EFE3 in the text box at the top of the window, and then press Enter.
The beginning color of the gradient changes to reflect your color choice.
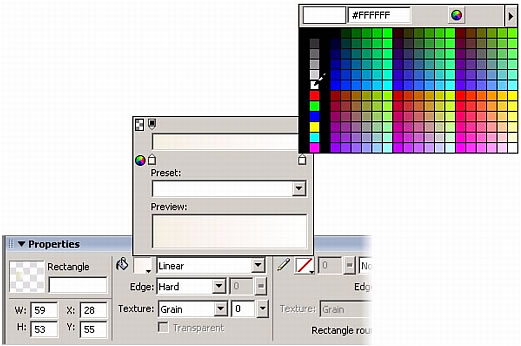
- Click the second gradient color button (on the right side of the dialog box) and click the white swatch with the eyedropper pointer.
The ending color of the gradient changes to reflect your color choice.
- Click the Opacity button for the second gradient color, in the upper-right corner of the dialog box:
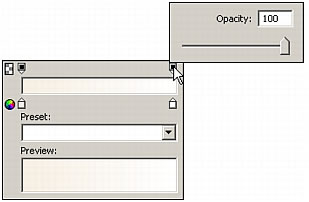
The Opacity pop-up window appears.
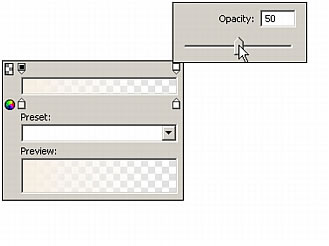
- Use the slider to set the opacity of the second gradient color to 50%.
- Click the Fill Category box and select Gradient > Linear.
- Press Enter to accept the settings, and then draw a rectangle over the Cafe Townsend logo in the banner.
When you release the mouse button, a semi-transparent rectangle appears over the logo.
TIP
Increase the document magnification to fine-tune your work
- Select the Pointer tool (or press V) and drag the blue corner points of the rectangle to position and resize the rectangle so that it is within and slightly smaller than the logo.
The rectangle obscures the logo beneath it. You want to change the stacking order of the two objects so that the rectangle is beneath the logo.
- In the Logo layer of the Layers panel, drag the rectangle object so that it is below the logo object (called "Group: 3 objects").
The logo is now properly displayed, with the rectangle highlighting rather than obscuring the logo.
- Save your work.

