Since there are three image files that you've added to the project so far, you should see three files in the Images folder: the two images you used for the page background (including 630B1151.jpg), and A-001.png.
When you drag A-001.png onto the page, an image object is created automatically.
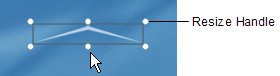
9 ) Re s i z e t h e obj ec t b y d ra gging on e o f t h e li tt l e whi t e c i rc l e s on t h e bounding bo x . T ry holding t h e c t r l a nd s hi ft key s down whil e y ou re s i z e t h e obj ec t t o ma in t a in i t s c u rre n t a s p ec t ra t io.
The little white circles on an objects bounding box are called resize handles.
The resize handles appear on the bounding box whenever an object can be resized with the mouse. To resize the object, just drag one of the resize handles and make the bounding box bigger or smaller.


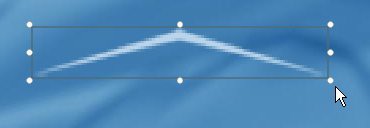
If you hold the ctrl and shift keys down (together) while you resize the object, the current aspect ratio will be maintained. What this means is that the width and height will both increase or decrease proportionally in order to keep the shape of the object the same. You can see this by
watching the dotted rectangle that appears when you drag the resize handle. Normally, the dotted rectangle follows the mouse pointer exactly. When you hold the ctrl and shift keys down, however, the dotted rectangle maintains its overall shape as it increases or decreases in size.
![]()
Tip: You can also right-click on an object and choose Keep Aspect to make it always maintain its aspect ratio, even if you resize it without holding the ctrl and shift keys down.