Creating and editing menus
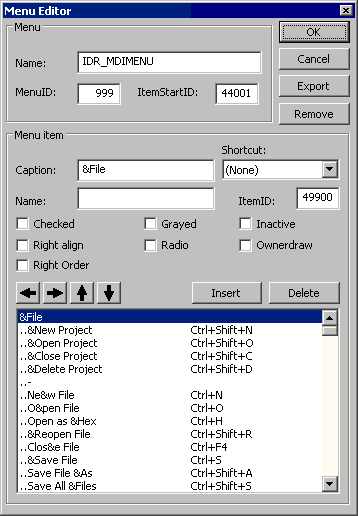
To add a resource based menu to your project select Add New from the Project menu or right click on the Project box. Double click on the new menu file to open the Edit Menu dialog. The first thing you must do is give your menu a name, this will be the name used by your application to identify the resource, alternatively you can identify it by a numeric value. You must also specify a starting ID for the items in the menu, all items will be numbered in order from the number you select. These numbers correspond to the command IDs that are passed to your application in the WM_COMMAND message. To add an item select Insert to insert a new item (the first item is created by default) and enter the specifics of the item. Complete the fields for each item you wish to add. You can move an item up or down in the menu structure and left or right. Moving an item to the left of the item above it signals that it is a sub item. The order in the editor directly corresponds to the menu that will appear in your application.
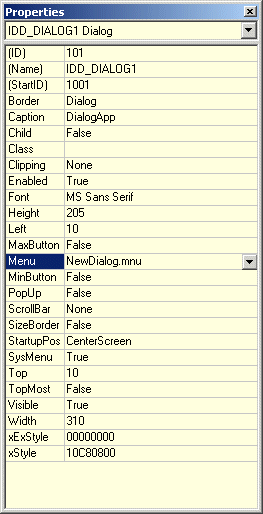
To assign the menu to a dialog you can do so directly in the dialog editor by specifying the mnu file in the Menu field of the dialogs properties.
Tip: In order to create a separator item give it an ID of zero, no name and use a minus (-) as the caption text