Niels Horn's Blog
Random thoughts, tips & tricks about Slackware-Linux, Lego and Star WarsChanging the boot logo in Slackware
October 23rd, 2010 by Niels Horn in Slackware, configuration
Is it possible to change the boot logo in Slackware?
This is a question that pops up once in a while on IRC and the forums, and the answer is yes, but there are some little details to take care of.
I made a step-by-step how-to once for myself, so I thought I might as well put it here on my blog ![]()
What is needed
- an image editor - I use the Gimp in this post, since it is included in Slackware
- an image file - basically anything readable by the Gimp can be used
- root access to edit lilo.conf and run lilo
Choosing an image
Like I wrote above, basically any image can be used, as long as you can open it with the Gimp, but results may vary.
At boot time, you have a screen with 640×480 pixels resolution, capable of showing 256 different colors. The bitmap format used for the logo file works with a 256-color index, so you can theoretically have an image with 256 shades of blue, with reasonable results.
If you use an image with many different colors to start with, the result can be quite ugly…
First I'll show the basic steps, then the results with some different images.
Converting the image
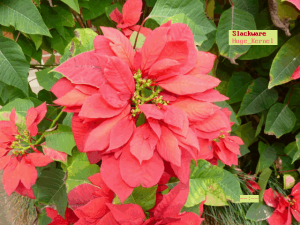
I'll start with a picture that uses mainly red and green colors:
The first thing we need to do is resize it to 640×480. Open it in the Gimp and choose: > Image > Scale Image... from the menu, and type 640 in the "width" box:
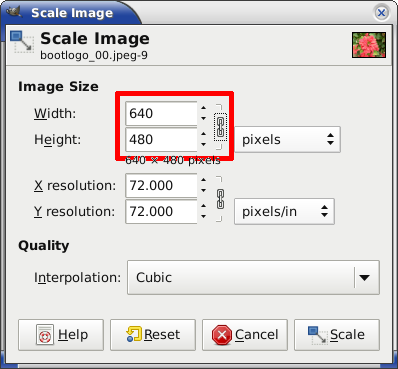
As this picture was taken with a digital camera, it already comes in the right width:height ratio of 4:3. In the second example I'll show how to deal with pictures with different ratios.
Click on "Scale" and the first step is done.
The next step is to create the 256 color index, as that is the maximum number of color we can display at boot time. Choose: > Image > Mode > Indexed... from the menu.
Select "Generate optimum palette" with a maximum of 255 colors:
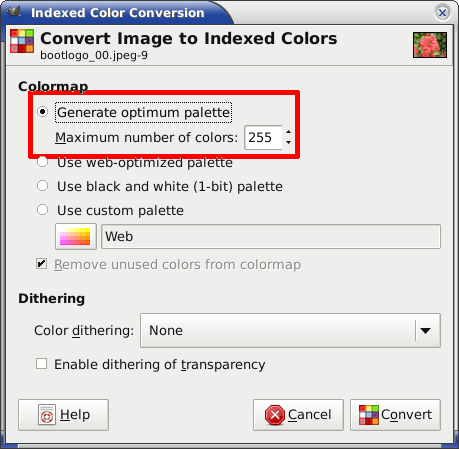
Click on "Convert" to create the index and convert the picture.
This is a good time to take a close look at the result. Use the zoom to enlarge the result, as this picture will be shown full-screen on your monitor at boot time. You will only have 255 different colors at this time.
Here is a sample of the picture I used:

As you can see, the shades of green and red are limited now, but the result is acceptable.
Now save the image in the bitmap format with: > File > Save As...
Do not close the Gimp yet, as we will need to get some information from the image in a while.
Preparing lilo
The following steps need to be run as root. As always, be careful here…
First of all, copy the bitmap file to the /boot directory.
Second, edit /etc/lilo.conf with your favorite editor. There s a section that defines the filename of the boot logo we need to edit. I called mine "flower.bmp", so the result looks like this:
...
# Boot BMP Image.
# Bitmap in BMP format: 640x480x8
 bitmap = /boot/flower.bmp
...
That was the easy part ![]()
Now we need to change the positions and colors of the menu and the timer.
First, let's think about the positions. This usually takes some "trial-and-error" to get nice results, but there are some general ideas:
- Positions are in "columns" (1-80) and "lines" (1-30) normally (pixels are possible for finer positioning)
- Try to choose a more neutral part of the picture, like a darker spot, or a part where there is only blue sky visible
For the first run, just try to make an educated guess (experience helps), and change after booting if you don't like the result.
Second, we need to select the colors for the menu.
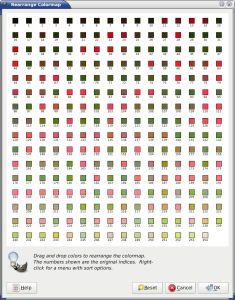
Remember, we now have these 255 colors to choose from after indexing the picture. But the trick is to know the number of the color…
Luckily, this is easy to find out in the Gimp. Choose: > Colors > Map > Rearrange Colormap... from the menu:
From this list, I'll choose a pair of light and dark colors for the menu and the timer.
This is the combination I selected:
...
# Menu colors (foreground, background, shadow, highlighted
# foreground, highlighted background, highlighted shadow):
 bmp-colors = 188,253,188,13,253,188
# Location of the option table: location x, location y, number of
# columns, lines per column (max 15), "spill" (this is how many
# entries must be in the first column before the next begins to
# be used. We don't specify it here, as there's just one column.
 bmp-table = 62,5,1,16
# Timer location x, timer location y, foreground color,
# background color, shadow color.
 bmp-timer = 65,27,188,253,188
...
Save your lilo.conf and run lilo to recreate the boot loader with the new settings.
If you get an error running lilo about an invalid image format, recheck your image with the Gimp.
Now reboot and see the result:
(I was able to take a "screenshot" while booting because I did this in a virtual machine…)
Advanced tips & tricks 1 - Different width:height ratio
My example was based on a picture that already had the 4:3 width:height ratio, but what if you have a different picture?
As an example, I'll use this picture that comes in the "FullHD" format of 1920×1080 pixels (ratio 16:9):
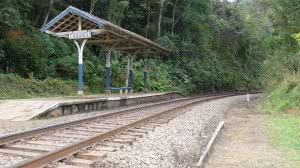
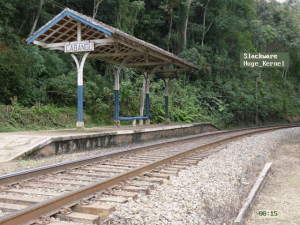
(This is the train station of Cabangu, where the great aviator Santos-Dumont was born)
In this case, in the > Image > Scale Image... dialog, we'll choose "480″ for the height:
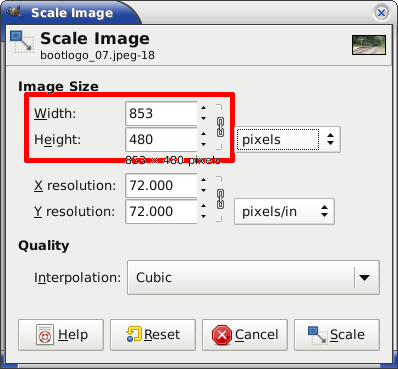
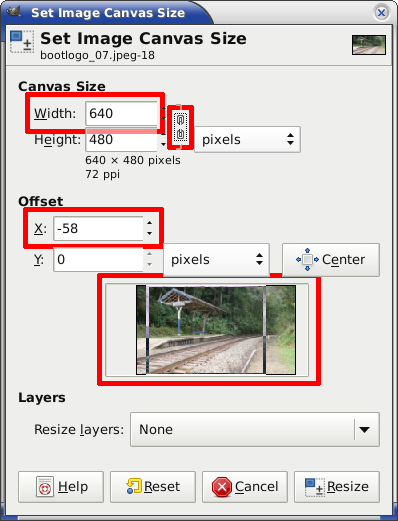
Now the width is too large for the 640×480 standard we need, so we'll choose: > Image > Canvas Size... from the menu, and:
- Click on the "chain" to break the link between the width and height
- Enter "640″ as the width
- Change the X Offset by value or by moving the image with the mouse
This is my example:
For the rest, just click on "Resize" and follow the steps as in the first example. This should be the result:
Advanced tips & tricks 2 - Widescreen monitors
This all looks nice, but if you have a modern wide-screen monitor, your boot logo will probably look distorted when shown full-screen, something like this:

We can "trick" this to look a bit better by distorting the bitmap image the opposite way, a technique commonly used in movies to record widescreen images on standard 4:3 film (see this explanation about anamorphic recording).
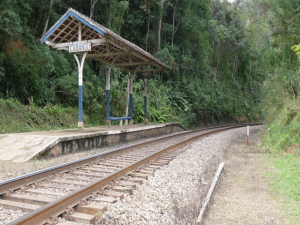
Let's get back to the original Cabangu picture. Instead of scaling it to 853×480, we'll break that chain again and scale it to 640×480:
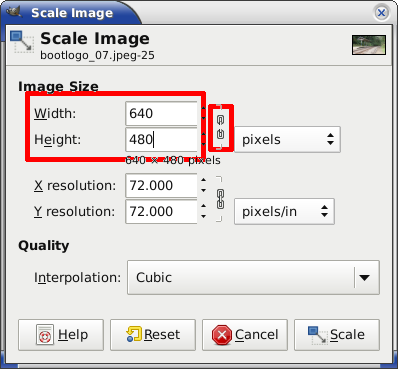
After color-indexing this horizontally "compressed" or "anamorphic" picture should be the result:
But the result should show up nicely on a wide-screen monitor:

Conclusion
This post just showed some basic examples of creating your own boot-logo screens. Use your imagination to create our own!
If you think you created something nice, feel free to post a link to the image in a comment.
For more advanced lilo options, do read the manual (# man lilo.conf) ![]()

