Adding a Local Printer
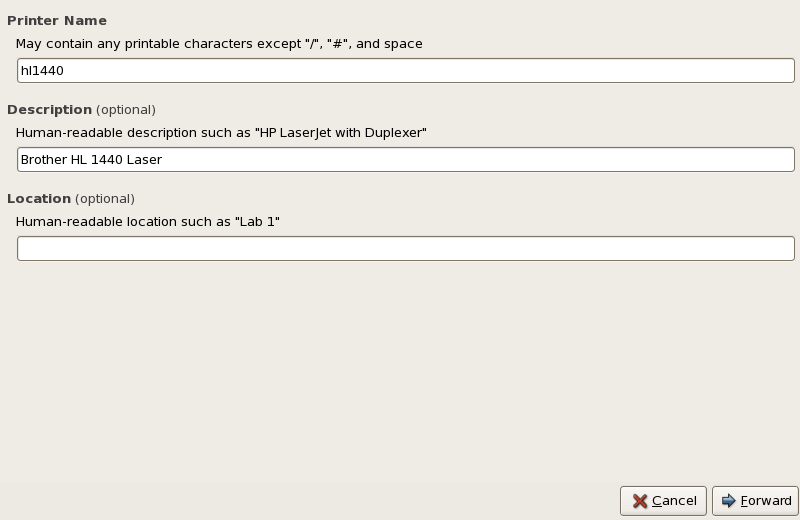
To add a local printer, such as one attached through a parallel port or USB port on your computer, click the New Printer button in the main Printer Configuration Tool window to display the window in Figure 36.2, "Adding a Printer".

Adding a printer
Figure 36.2. Adding a Printer
Click Forward to proceed.
Enter a unique name for the printer in the Printer Name field. The printer name can contain letters, numbers, dashes (-), and underscores (_); it must not contain any spaces.
You can also use the Description and Location fields to further distinguish this printer from others that may be configured on your system. Both of these fields are optional, and may contain spaces.
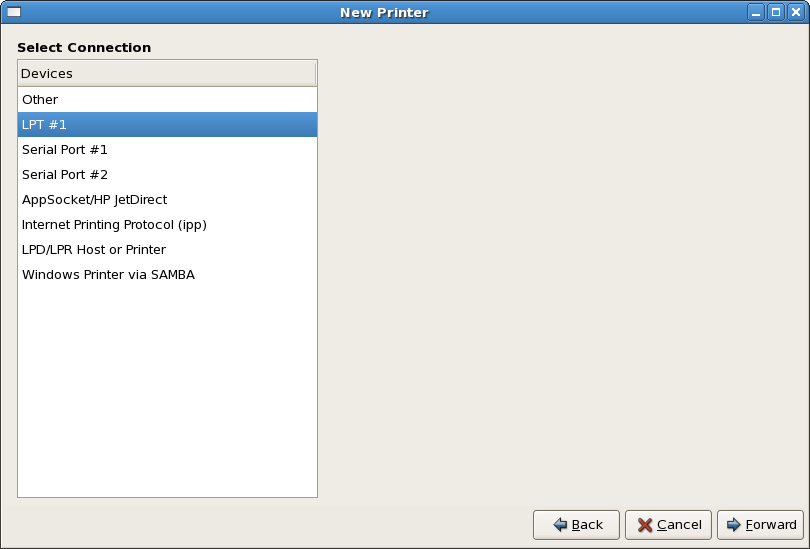
Click Forward to open the New Printer dialogue (refer to Figure 36.3, "Adding a Local Printer"). If the printer has been automatically detected, the printer model appears in Select Connection. Select the printer model and click Forward to continue.
If the device does not automatically appear, select the device to which the printer is connected (such as LPT #1 or Serial Port #1) in Select Connection.

Adding a local printer
Figure 36.3. Adding a Local Printer
Next, select the printer type. Refer to "Selecting the Printer Model and Finishing" for details.