JumpStart: Configuring a Samba Server Using system-config-samba
JumpStart: Configuring a Samba Server Using system-config-sambaThe system-config-samba utility can set up only basic features of a Samba server. It is, however, the best tool to use if you are not familiar with Samba and you want to set up a simple Samba server quickly. The system-config-samba utility performs three basic functions: configuring the server, configuring users, and setting up shares (directory hierarchies) that are exported to the Windows machines. Tip: Make a copy of smb.conf As installed, the /etc/samba/smb.conf file has extensive comments (page 705). The system-config-samba utility overwrites this file. Make a copy of smb.conf for safekeeping before you run this utility for the first time.
To display the Samba Server Configuration window (Figure 23-1), enter system-config-samba on a command line. From KDE select Main menu: System Figure 23-1. Samba Server Configuration window[View full size image]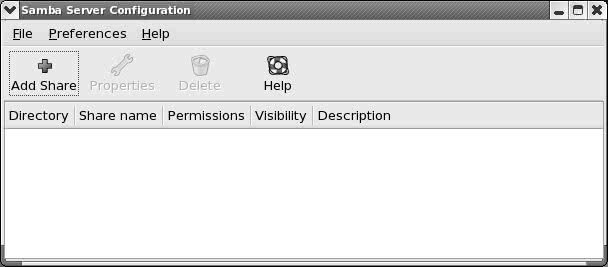 Select Menubar:Preferences Figure 23-2. Server Settings window, Basic tab
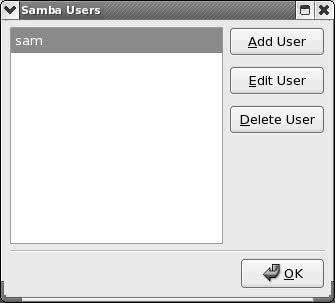
Select Menubar: Preferences Figure 23-3. Samba Users window
If Sam has accounts named sam on both the Windows and Linux systems, you would select sam from the Unix Username combo box, enter sam in the Windows Username text box, and enter Sam's Windows password in the two Samba Password text boxes. Click OK to close the Create New Samba User window and click OK to close the Samba Users window. Tip: Adding a Samba password for the Linux user nobody Because the user nobody exists in smbusers when you install Samba, you cannot add the user nobody, nor can you add a password for nobody from system-config-samba. Instead, you must use smbpasswd from the command line as follows: # smbpasswd -a nobody New SMB password: Retype new SMB password: Normally the user nobody does not have a password because it is the guest login. Press RETURN (without typing any characters) in response to each of the SMB password prompts to add nobody to the Samba password file without a password.
Linux shares
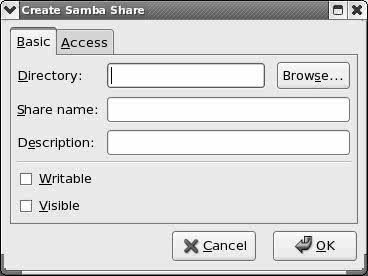
Next you need to add a share, which is the directory hierarchy you export from the Linux system to the Windows system. Click Add Share on the toolbar to display the Basic tab in the Create Samba Share window (Figure 23-4). In the Directory text box, enter the absolute pathname of the directory you want to share (/tmp is an easy directory to practice with). Enter a description if you like. It can be useful to enter the Linux hostname and the pathname of the directory you are sharing here. Specify Writable if you want to be able to write to the directory from the Windows machine; Visible allows the share to be seen from the Windows machine. Click the Access tab and specify whether you want to limit access to specified users or whether you want to allow anyone to access this share. Click OK. Close the Samba Server Configuration window. Figure 23-4. Create Samba Share window, Basic tab
You should now be able to access the share from a Windows machine (page 711). There is no need to restart the Samba server. |
 Samba or from GNOME select System: Administration
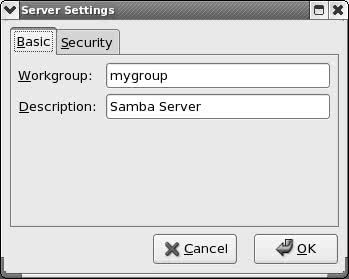
About Samba
|