Using rulers, guides, and the grid
You can use rulers and guides to lay out objects as precisely as possible and to help you draw. You can place guides in the document and snap objects to those guides or turn on the Fireworks grid and snap objects to the grid.
Using rulers
Rulers help you to measure, organize, and plan the layout of your work. Because Fireworks images are intended for the web, where graphics are measured in pixels, the rulers in Fireworks always measure in pixels, regardless of the unit of measurement you used when creating the document.
To show and hide rulers:
- Select View > Rulers.
Vertical and horizontal rulers appear along the margins of the document window.
Using guides
Guides are lines that you drag onto the document canvas from the rulers. They serve as drawing aids to help you place and align objects. You can use guides to mark important parts of your document, such as the margins, the document center point, and areas where you want to work precisely.
To help you align objects, Fireworks lets you snap objects to guides. You can lock guides to prevent them from being accidentally moved.
|
NOTE |
Guides do not reside on a layer, nor are they exported with a document. They are merely design tools. |
Fireworks also has slice guides that allow you to slice a document for use on the web. Regular image guides are different from slice guides, however. For information on slice guides, see Moving slice guides to edit slices.
To create a horizontal or vertical guide:
- Click and then drag from the corresponding ruler.
- Position the guide on the canvas and release the mouse button.
NOTE
You can reposition the guide by dragging it again.
To move a guide to a specific position:
- Double-click the guide.
- Enter the new position in the Move Guide dialog box, and click OK.
To show or hide guides:
- Select View > Guides > Show Guides.
To snap objects to guides:
- Select View > Guides > Snap to Guides.
To change guide colors:
- Select View > Guides > Edit Guides.
- Select the new guide color from the color box pop-up window, and click OK.
To lock or unlock all guides:
- Select View > Guides > Lock Guides.
To remove a guide:
- Drag the guide off the canvas.
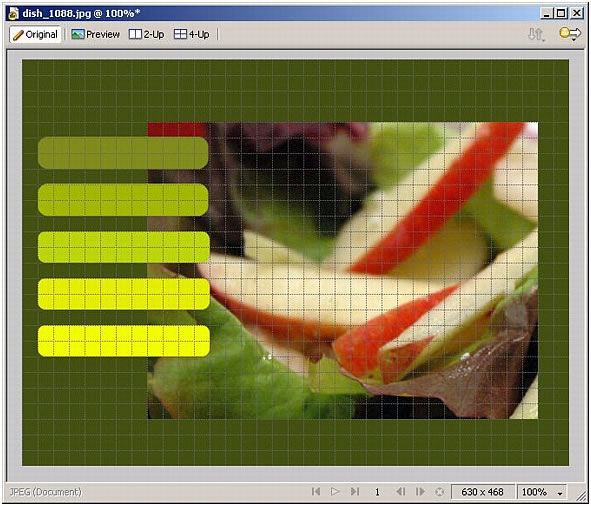
Using the grid
The Fireworks grid displays a system of horizontal and vertical lines on the canvas. The grid is useful for placing objects precisely. In addition, you can view, edit, resize, and change the color of the grid.
|
NOTE |
The grid does not reside on a layer, nor is it exported with a document. It is merely a design tool. |
To show and hide the grid:
- Select View > Grid > Show Grid.
To snap objects to the grid:
- Select View > Grid > Snap to Grid.
To change the grid color:
- Select View > Grid > Edit Grid.
- Select the new grid color from the color box pop-up window, and click OK.
To change the size of the grid's cells:
- Select View > Grid > Edit Grid.
- Enter the appropriate values in the horizontal and vertical spacing text boxes, and click OK.

